Introduction
In this tip, I am going to demonstrate all the steps to create a package in SQL Server Integration Services to import iImages in SQL Server.
Using the Code
- Create a flat file named ListImages.txt containing list of paths of images to be imported in SQL Server.
Content of ListImages.txt
C:\Images\Image1.gif
C:\Images\Image2.gif
- Create a table in database to copy the images into SQL Server.
CREATE TABLE dbo.tblImages(
    id int IDENTITY(1,1) NOT NULL PRIMARY KEY
    , imgPath varchar(200) NULL
    , image image NULL
 )
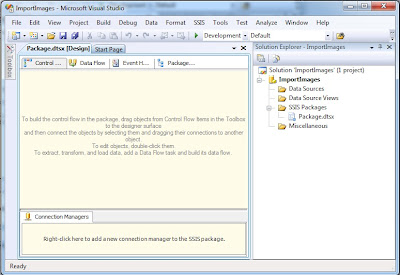
- Start the SQL Server Business Intelligence Studio and create a New SQL Server Integration Project "
ImportImages".
- Drag and drop the Data Flow Task to the design pane.
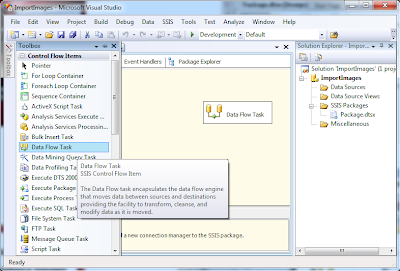
- In the design pane, right click on Data Flow Task and then click Edit or double click the Data Flow Task.

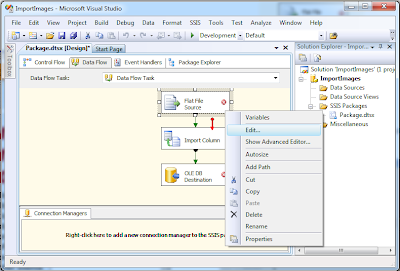
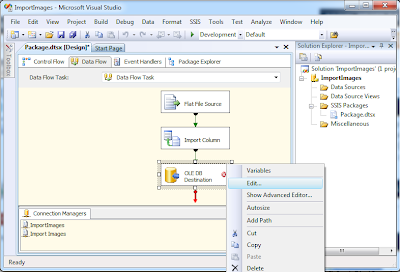
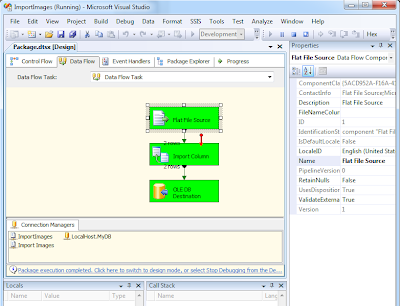
- From the Data Flow tab, drag and drop a Flat File Source, an Import Column and an OLE DB Destination. Join the tasks with the green arrows as shown below.

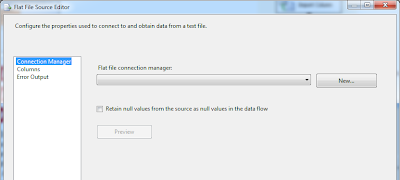
- Right Click on Flat File Source and then click Edit...
- In the Flat file connection manager, press New...
- In the General option, mention Connection Manager Name, Description (Optional) and browse flat file ListImages.txt created in Step 1.
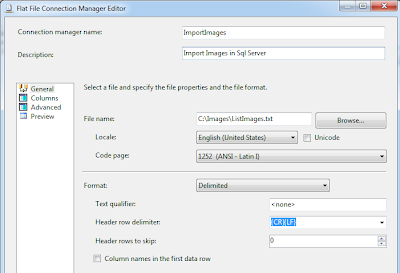
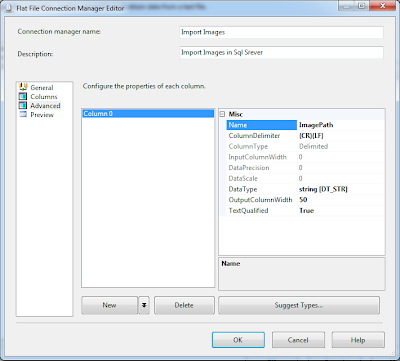
- Select Advance option and change the name to
ImagePath. Click OK twice to save the settings.
- Right click on Import Column and then click Edit... In the new window, select Input Columns tab and select Name.

- Select Input and Output Properties Tab and expand Import Column Output from the
TreeView. Select Output Columns and click on Add Column. Get the ID property value of the column created. (In this example, ID is 58).
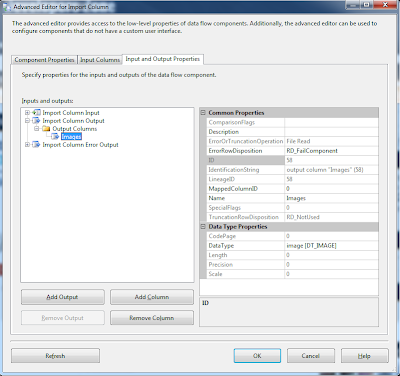
- Expand Import Column Input from the
TreeView and select ImagePath. In ColumnProperties, set FileDataColumnID value to 58 (generated in step 12) and click OK to save the settings.

- Right Click on OLE DB Destination and then click Edit.
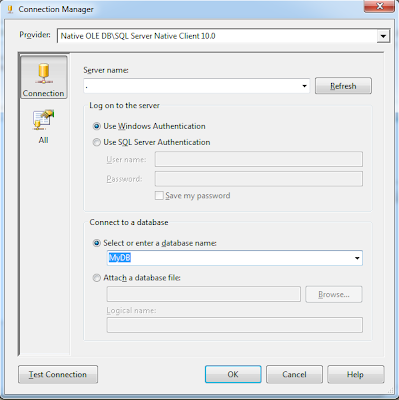
- In the OLE DB Destination Editor Window, press New... for the OLE DB connection manager.

- In the Configure OLE DB Connection Manager press the New... button.

- In the Connection Manager, in Provider combo box, select Native OLE DB\SQL Server Native Client and provide other details like Server Name, Authentication Type, Credentials and Database Name and Click OK.
- In the OLE DB Destination Editor Window, in Connection Manager Option, select the
tabletblImages.
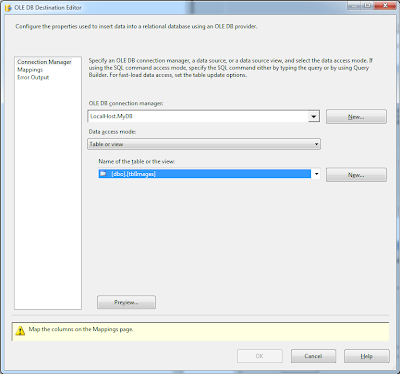
- Select the option Mapping and do the mapping as shown below and click OK.

- At this point, we are done with creating the package and ready to run the project. If everything is OK, all the tasks should be displayed with green color and the number of rows imported should be displayed.
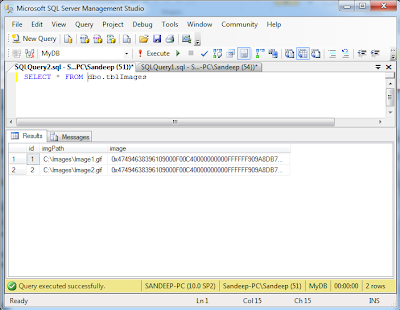
- To verify the data is imported successfully, open SQL Server Management Studio and connect the database and open the table
tblImages.
This member has not yet provided a Biography. Assume it's interesting and varied, and probably something to do with programming.


